

 In my last post about Sally’s custom wedding dress, most of the major seams were permanently constructed. This is a bit different from the custom couture process I usually follow.
Once I got into construction phase of Sally’s custom wedding dress, with all the asymmetry and stripe matching, I realized that skipping a step (that I never skip!) would actually make our lives easier. The skipped step was the basted fitting.
The basted fitting is usually the first chance for the bride to see the actual dress and the last chance to make any changes. In the basted fitting, much of the dress is simply basted together and unlined. This allows changes to be made easily, without any time-consuming (and possibly scarring) alterations. After the basted fitting, the bride would then come back yet another time to try on the completed dress and take it home with her.
Sally lives several hours away, so a quick fitting in my studio would require 6-8 hours of driving for her. Since we did so much work in our mockup fittings, I did not anticipate us making changes and, at this point, any tweaks might compromise the dress’s delicate stripe matching pattern puzzle. Though I loved spending time with Sally, it seemed like it might be a waste of the bride’s valuable time to travel both for a basted fitting and a final fitting before her wedding day.
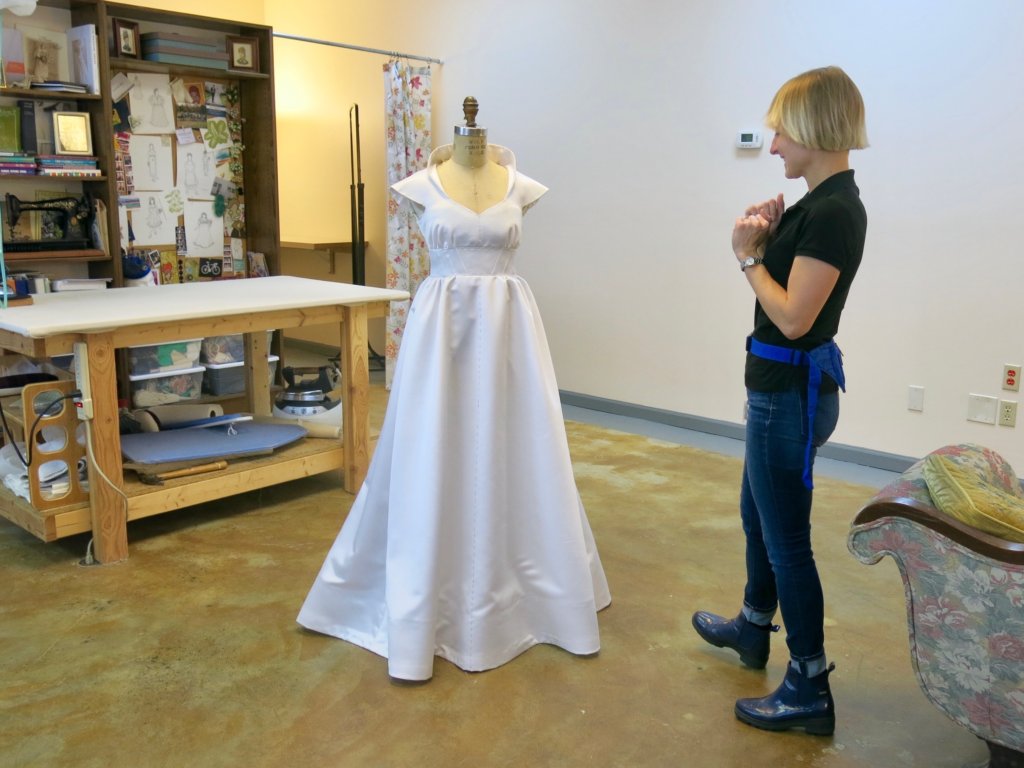
I sent Sally a note asking if she’d be okay if I went ahead and finished the dress. Her response: “Sounds good to me. I trust you completely and I am so excited!” This meant that the next time I’d see Sally, she’d be seeing her dress for the first time and taking it home with her!
Finishing prep
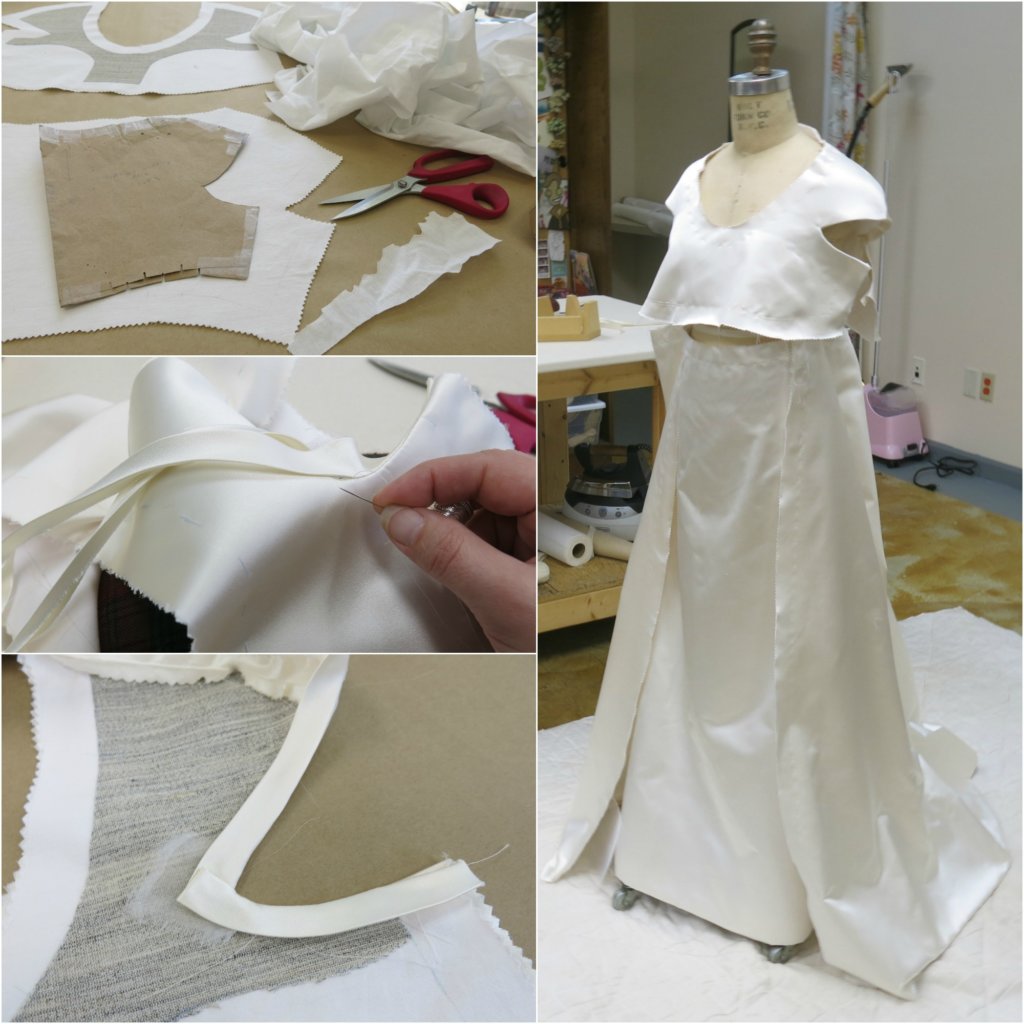
I like to do as much work as possible before joining everything together. Before attaching Sally’s bodice to her skirt, I worked a bit on the closures and linings.
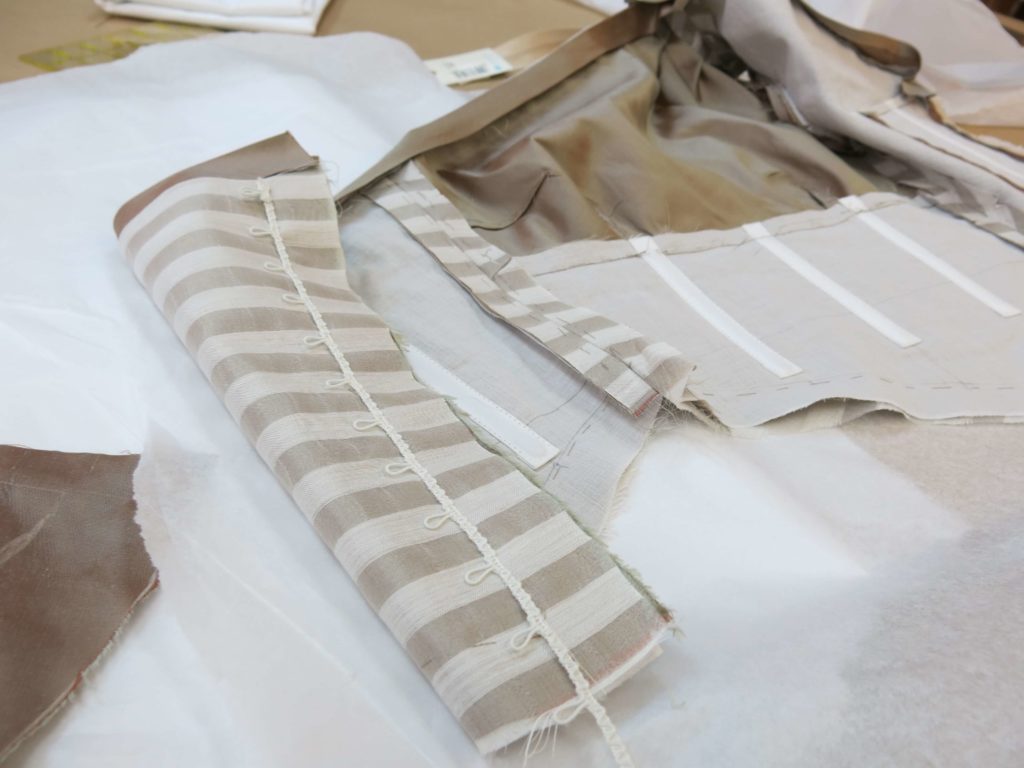
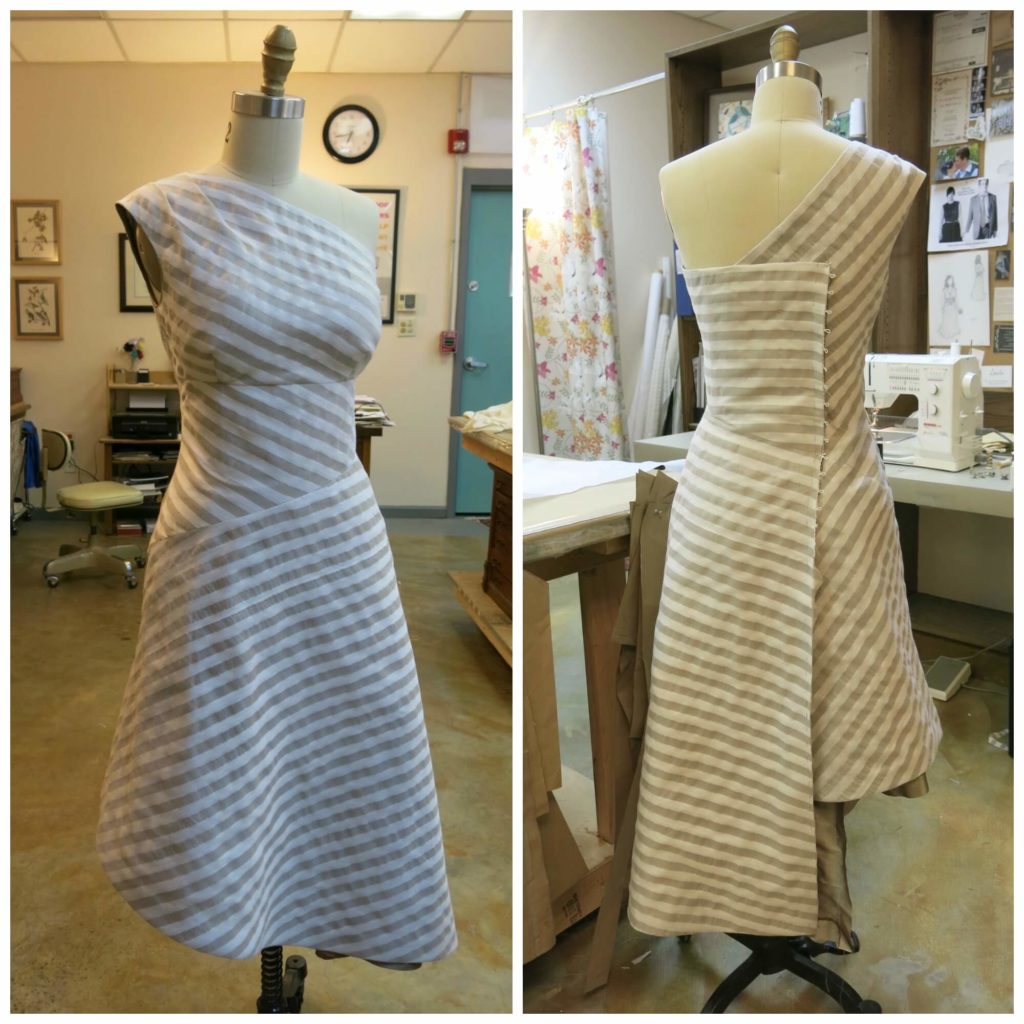
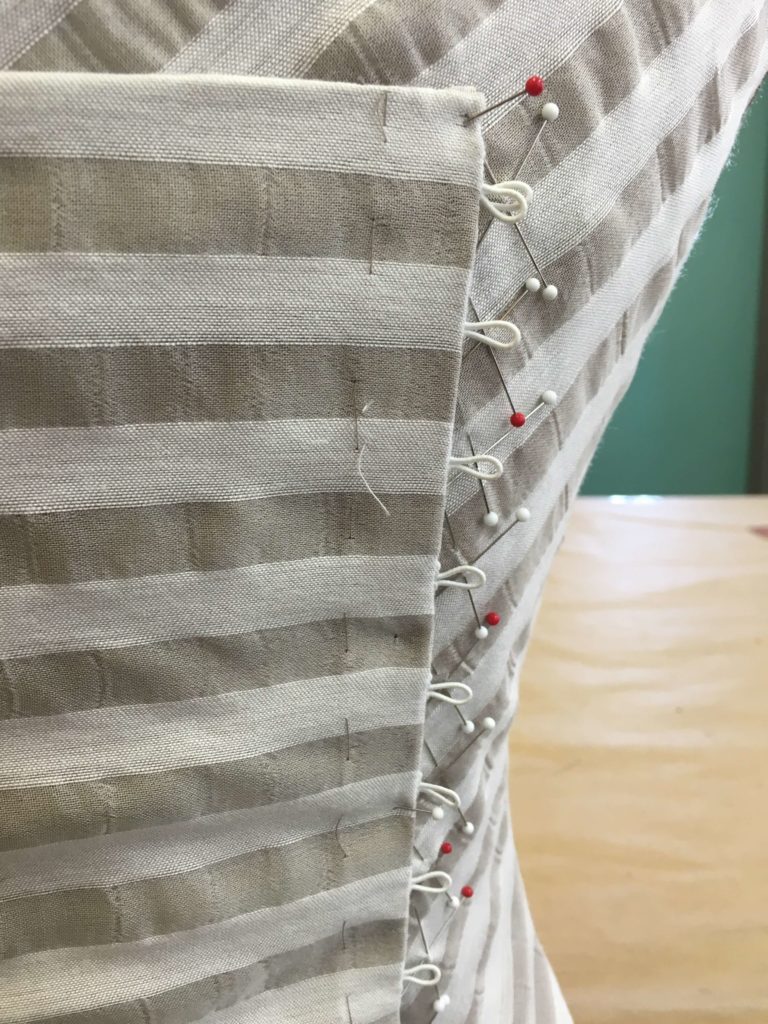
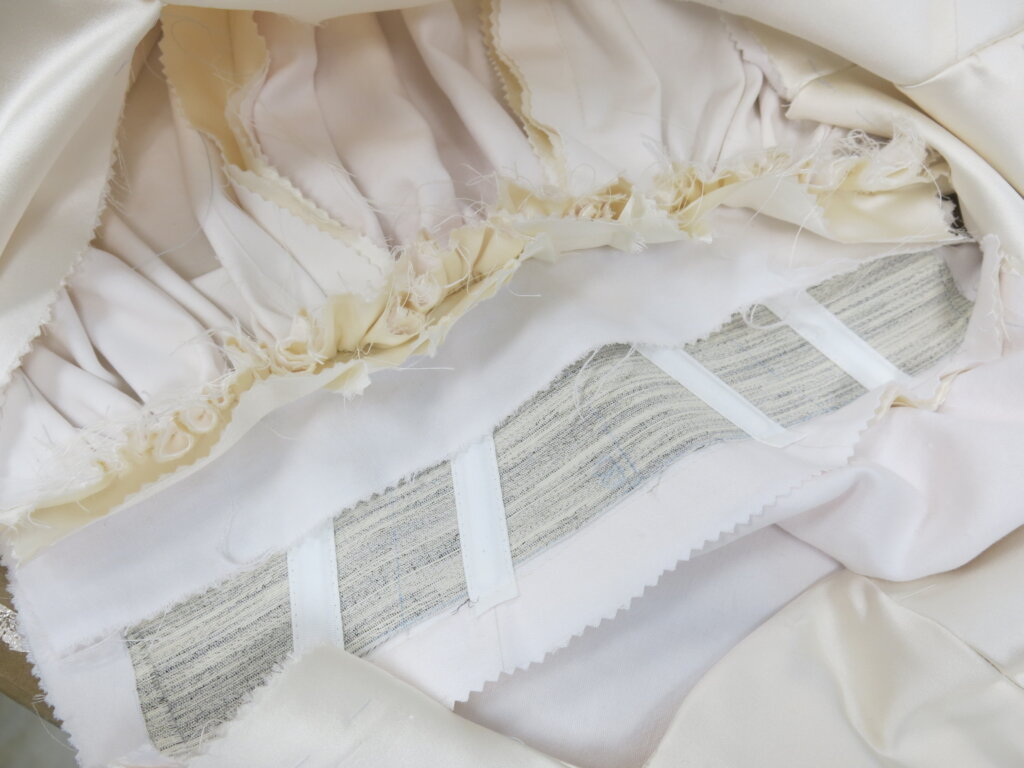
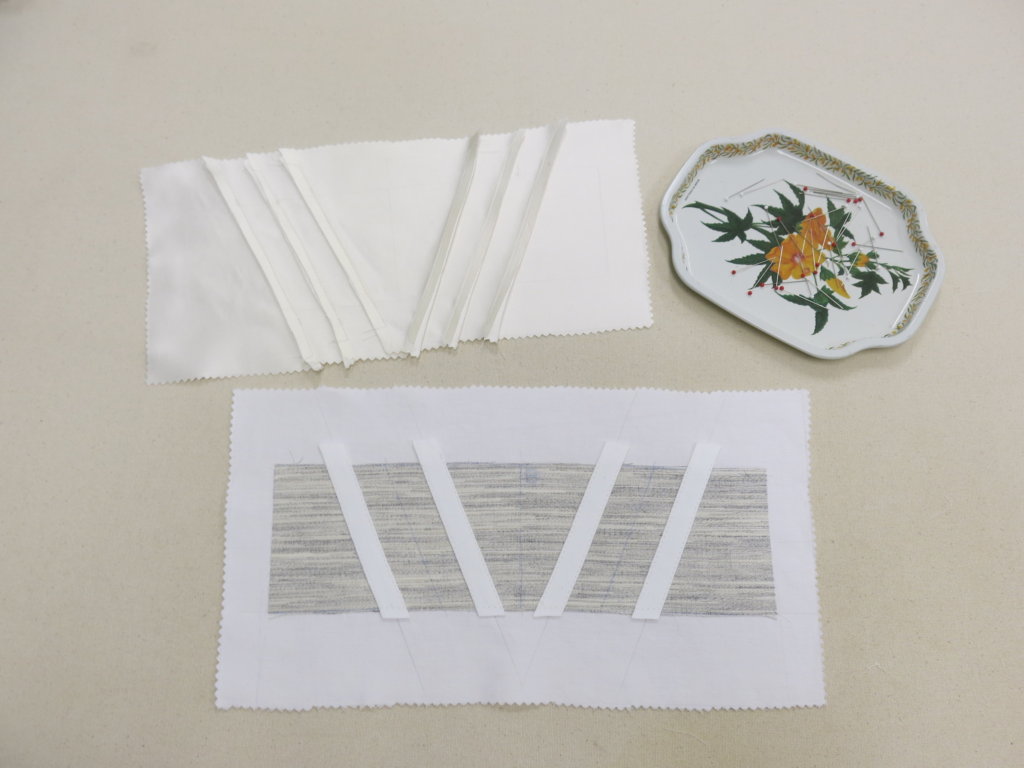
I designed the back wrap so that each stripe would line up with a button. To ensure proper placement, I hand basted elastic button loop tape in place making sure each loop corresponded with the middle of a stripe. Once it was stitched permanently, I’d fold and press the tape to the inside so that only the loops would show.
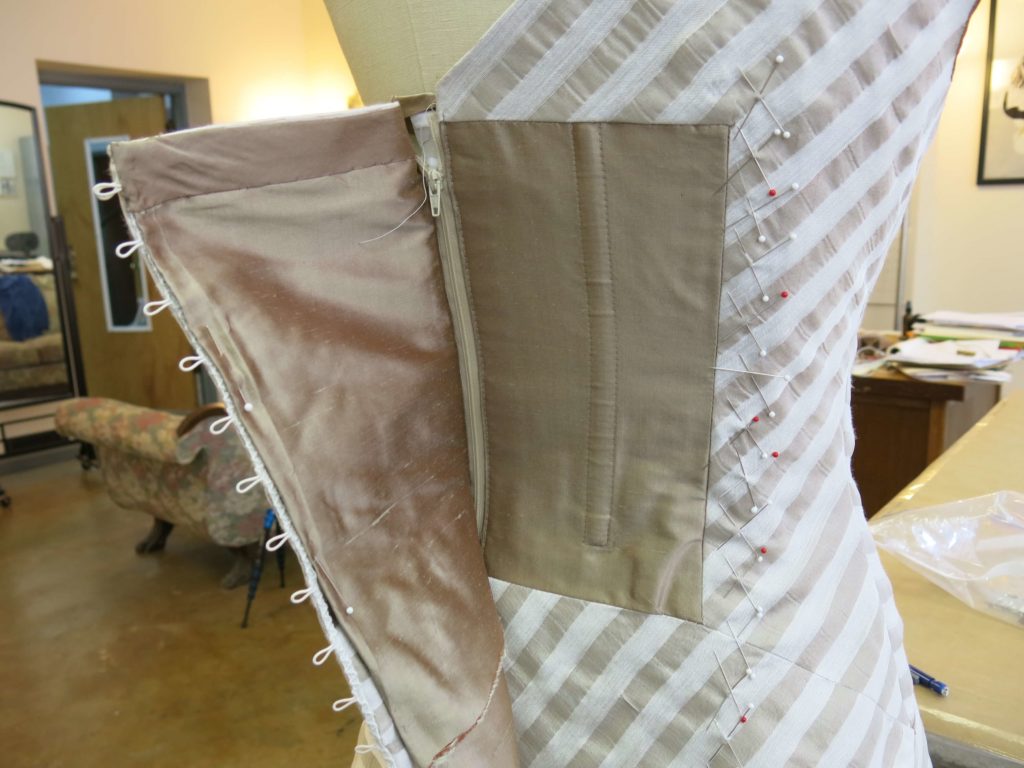
I also worked on the hidden separating zipper, testing and basting its proper placement using my Size-Sally dress form.
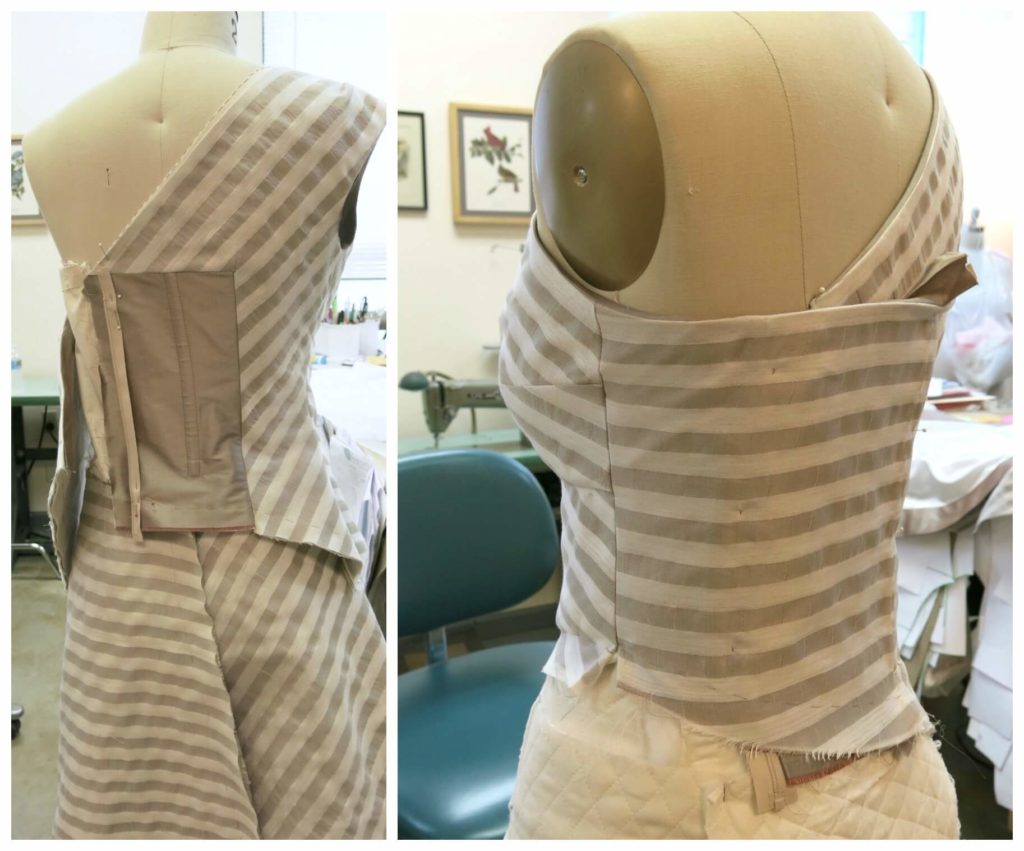
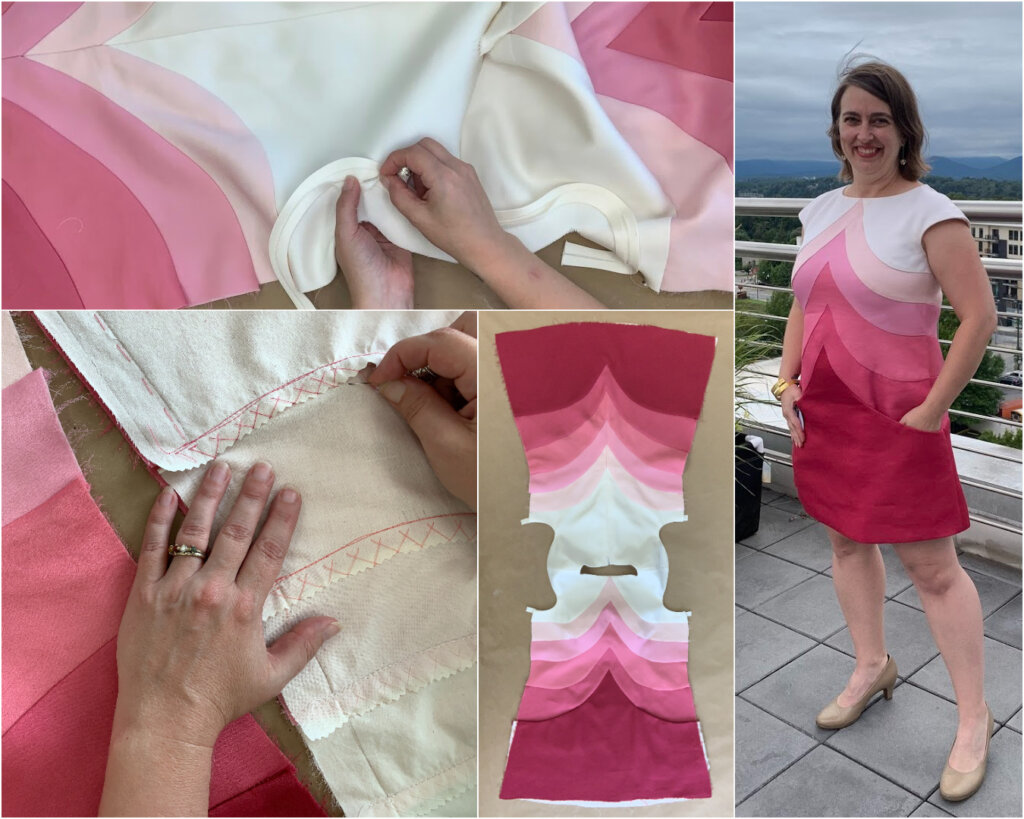
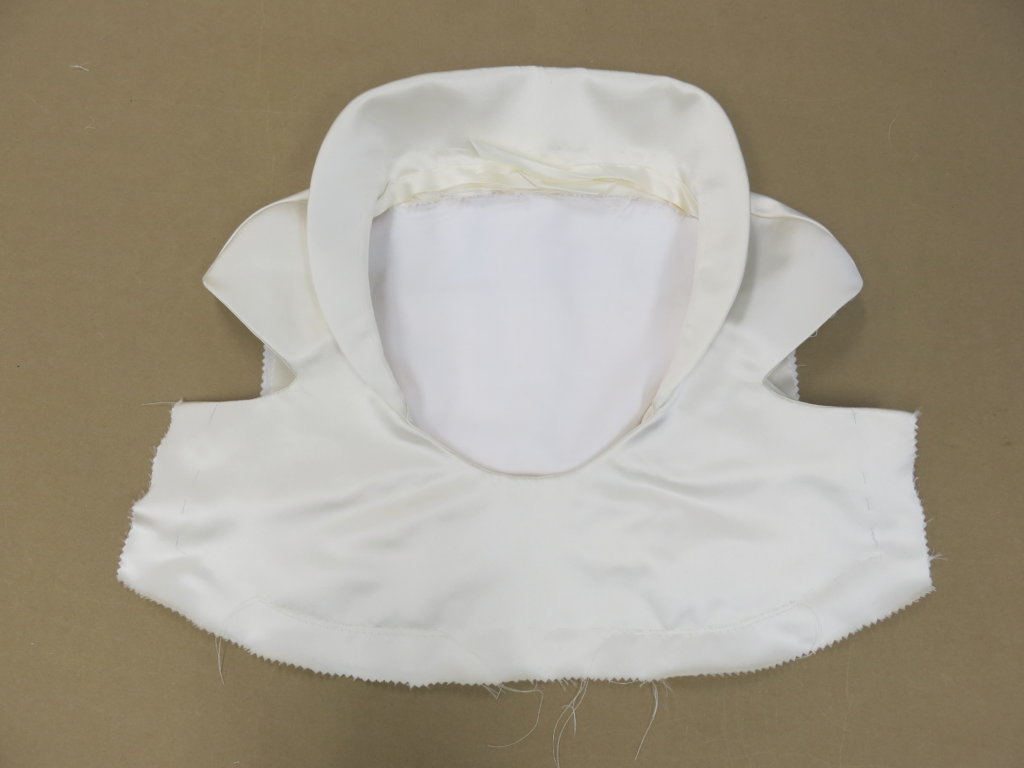
Since we were skipping the basted fitting, I decided it would also be easiest to start lining the bodice and finishing the top edge and armhole before stitching the bodice to the skirt.
I basted the bodice lining in place, folded and pressed my bias binding to the inside, before finishing with a permanent hand stitch. This would give the edges a beautifully crisp finish without any stitching showing on the outside (or the inside).
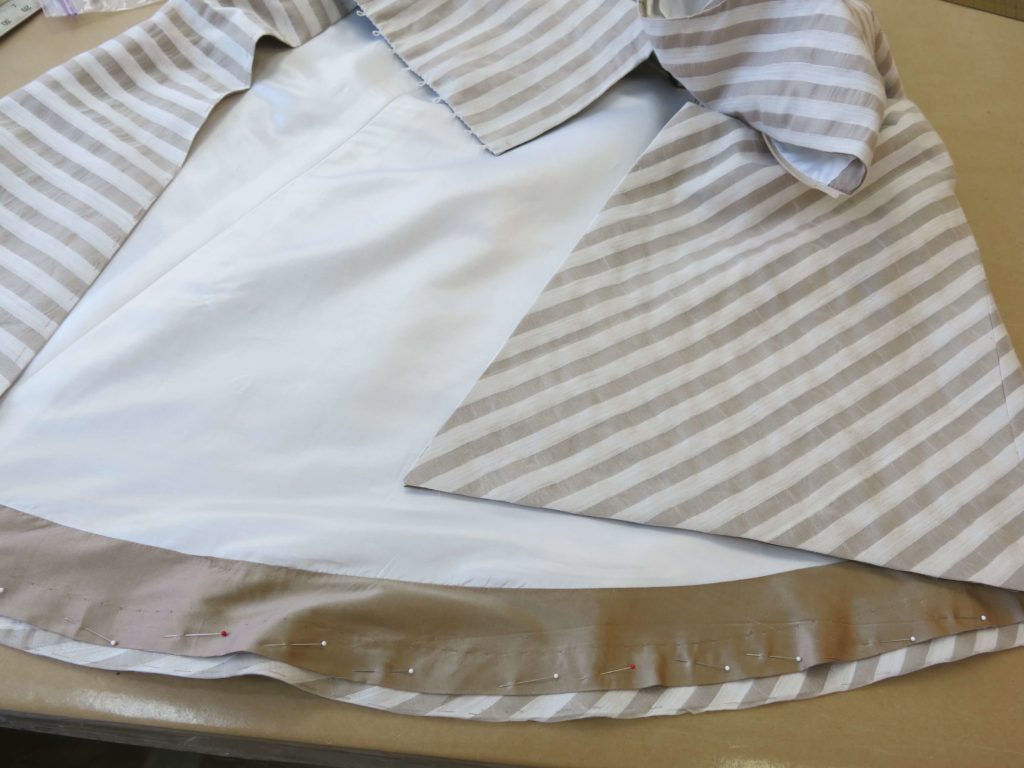
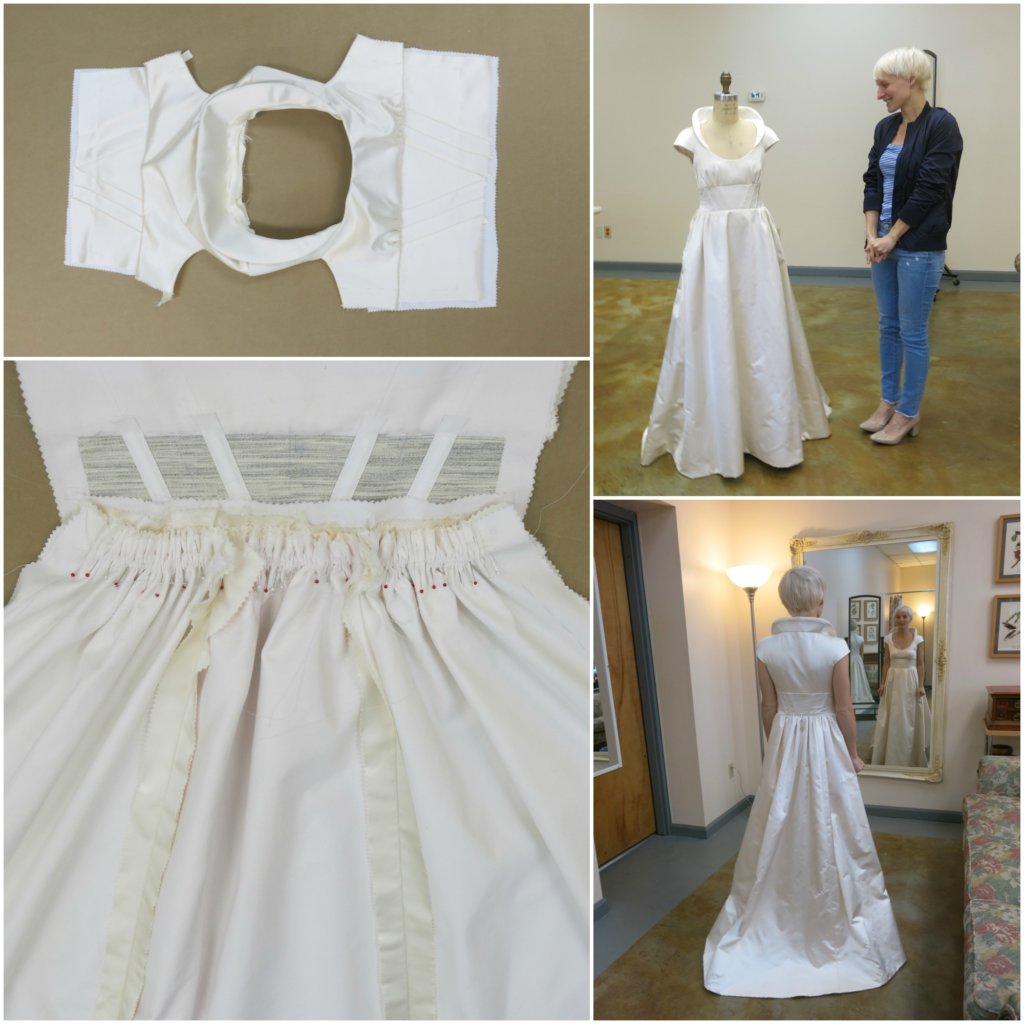
I also put together the lining for the skirt. I added a band of the neutral color fabric to the edges. With Sally’s asymmetrical hem, some of the lining can be seen while she’s wearing it!
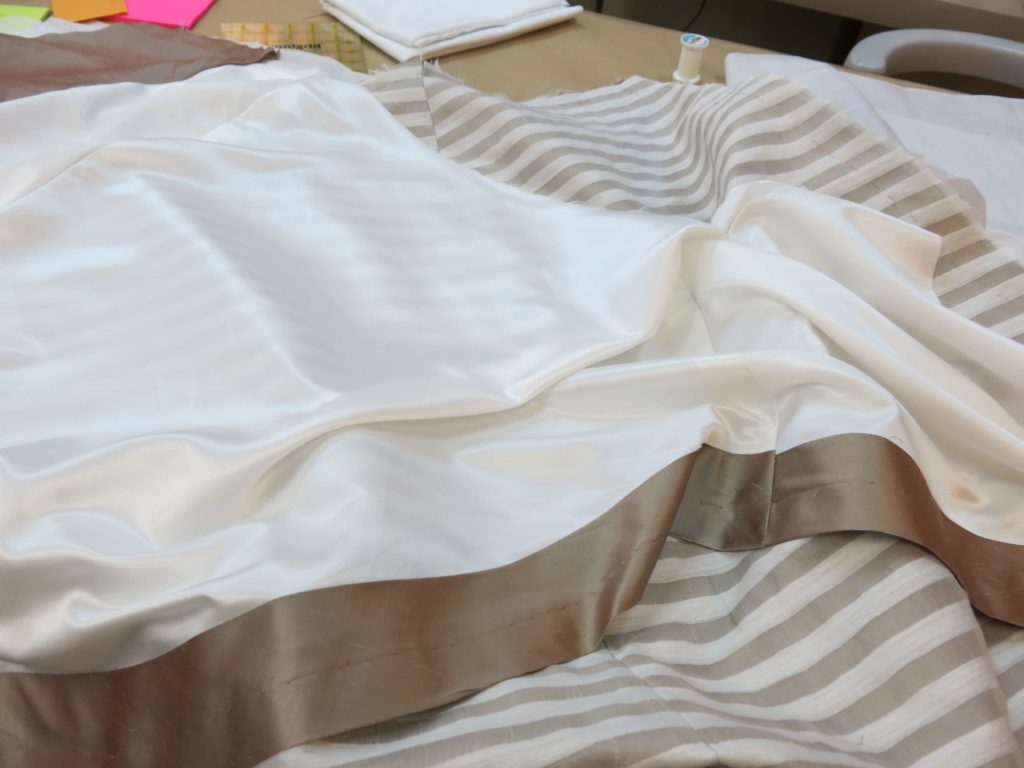
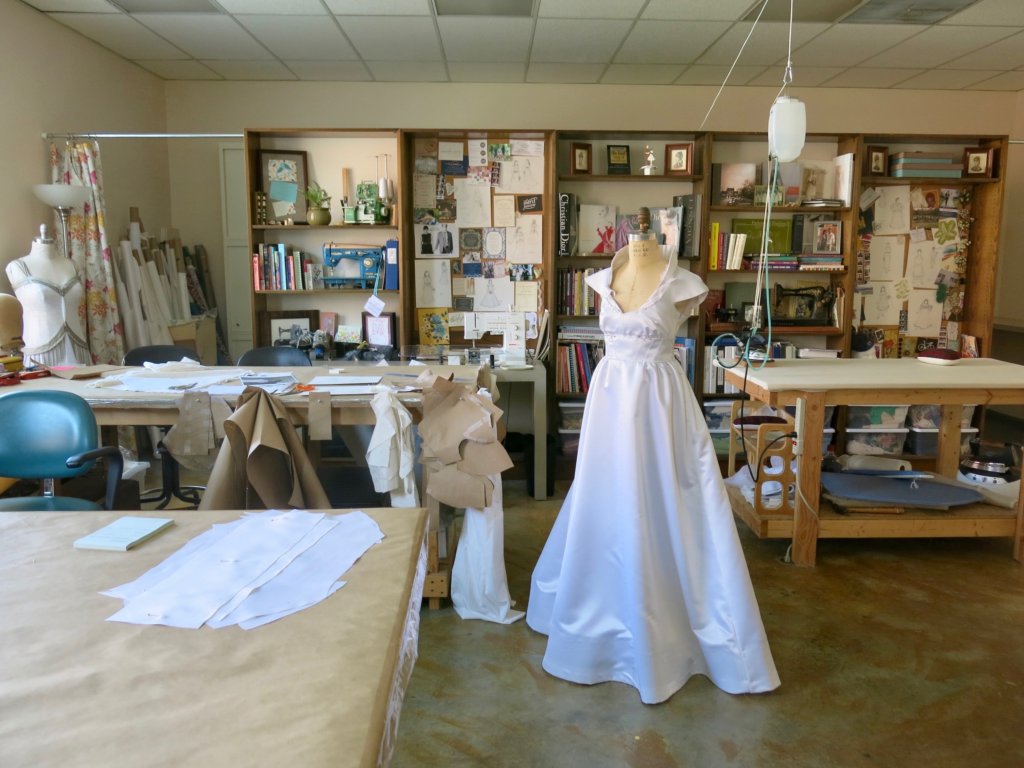
Once I couldn’t go any further, I added the final permanent seam attaching the bodice to the skirt.
Looking good!
Lining things up!
Next it was time to finish up the linings!
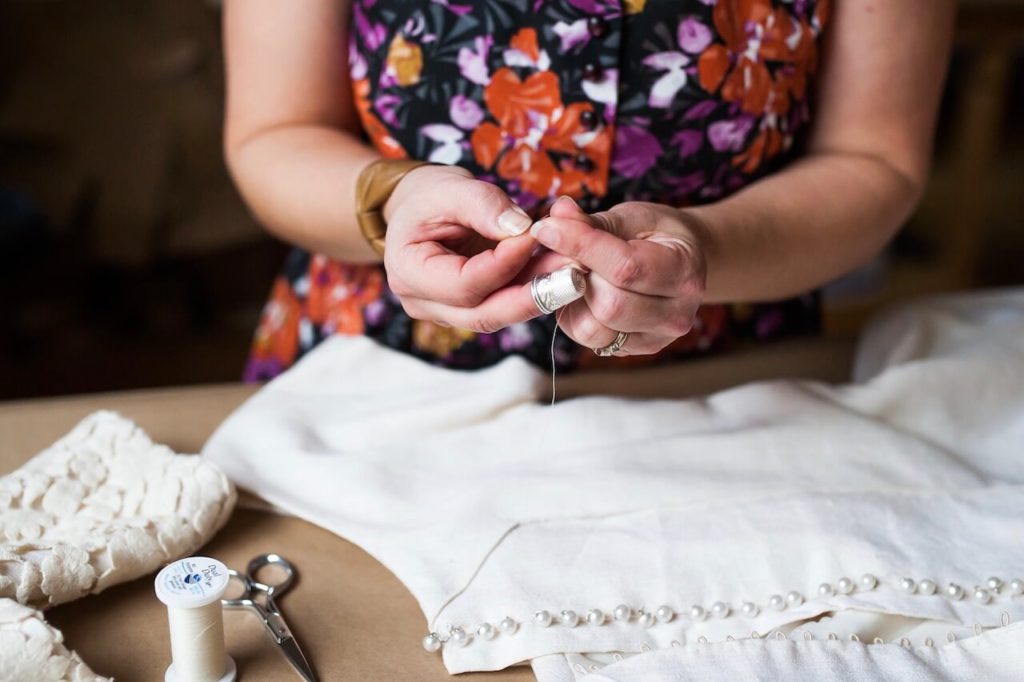
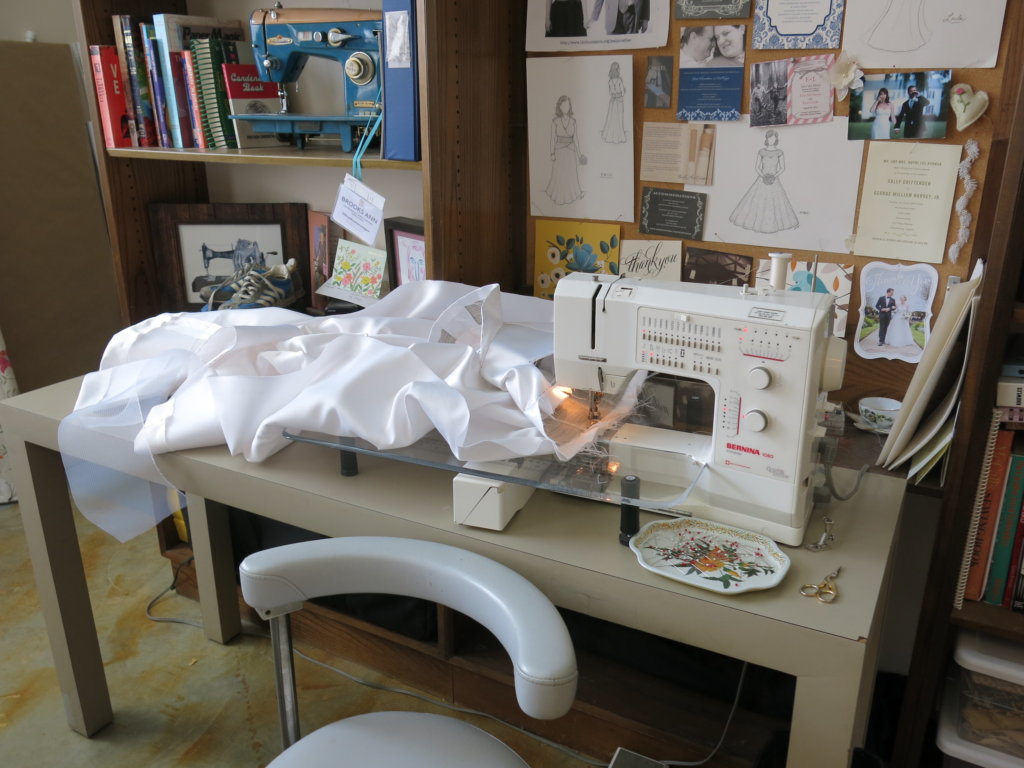
In general, I put most of my linings in by hand and Sally’s dress was no exception. Hand sewing offers so much more control than machine sewing! Being able to spread everything out on a large table rather than feeding it through a small machine also helps with accuracy.
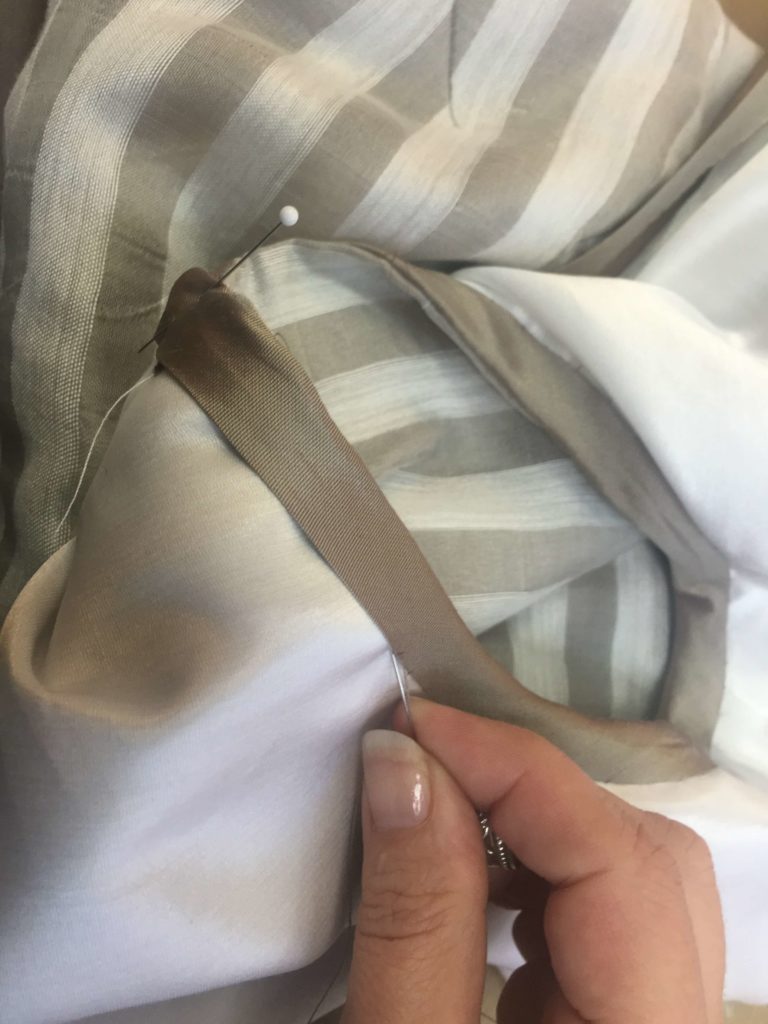
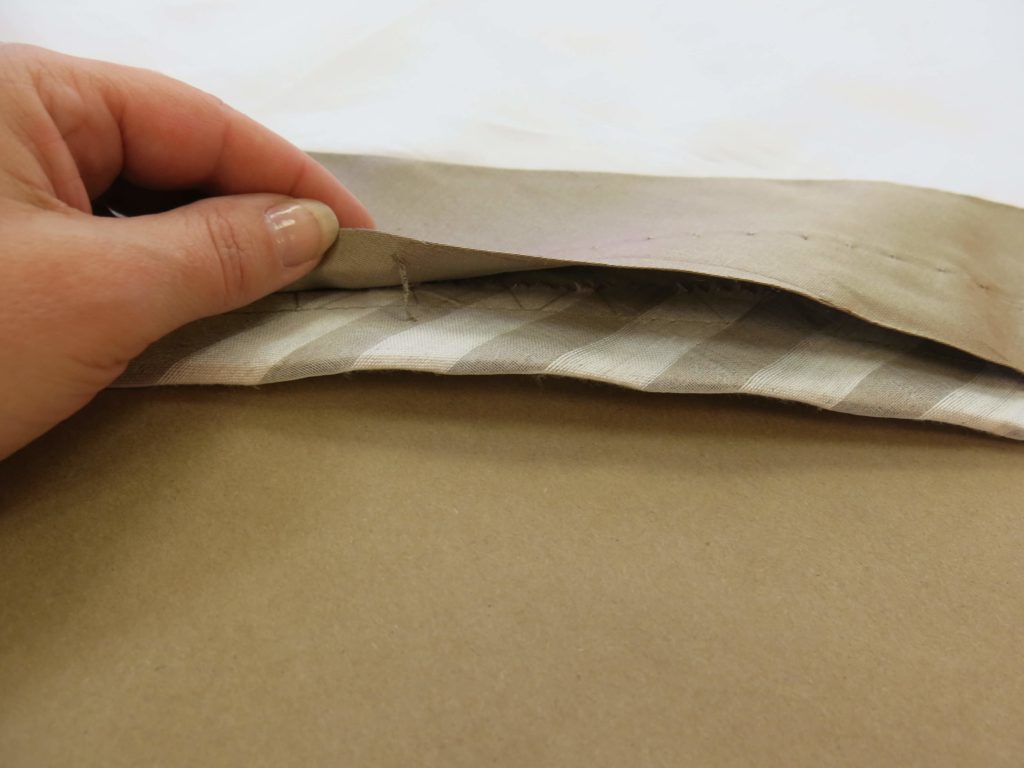
I basted the skirt portion of the lining in place making sure to keep the tricky hidden zipper functioning properly…
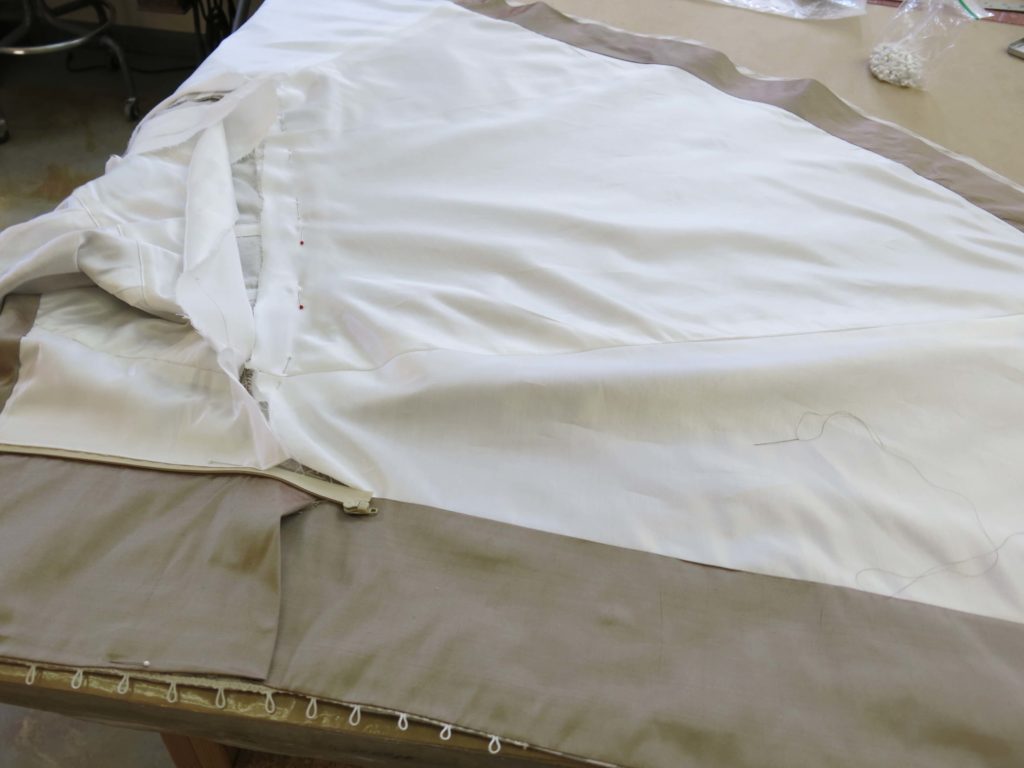
…then the bodice lining was folded down to meet it. I pinned the asymmetrical seam in place before permanently hand stitching the seam.
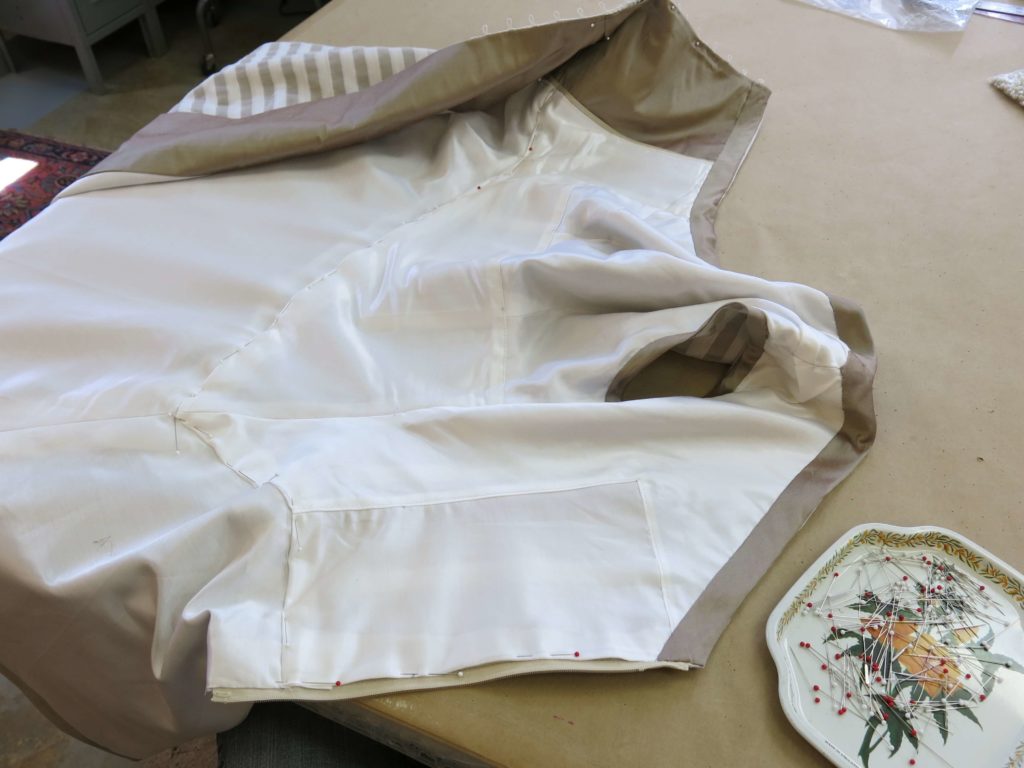
The two hems were also pinned in place…
…before attaching them loosely with “swing tacks” (sometimes called “thread chains”.)
Buttoning things up!
Now that the zipper, the button loops, and the linings were installed, it was time for some fun with buttons.
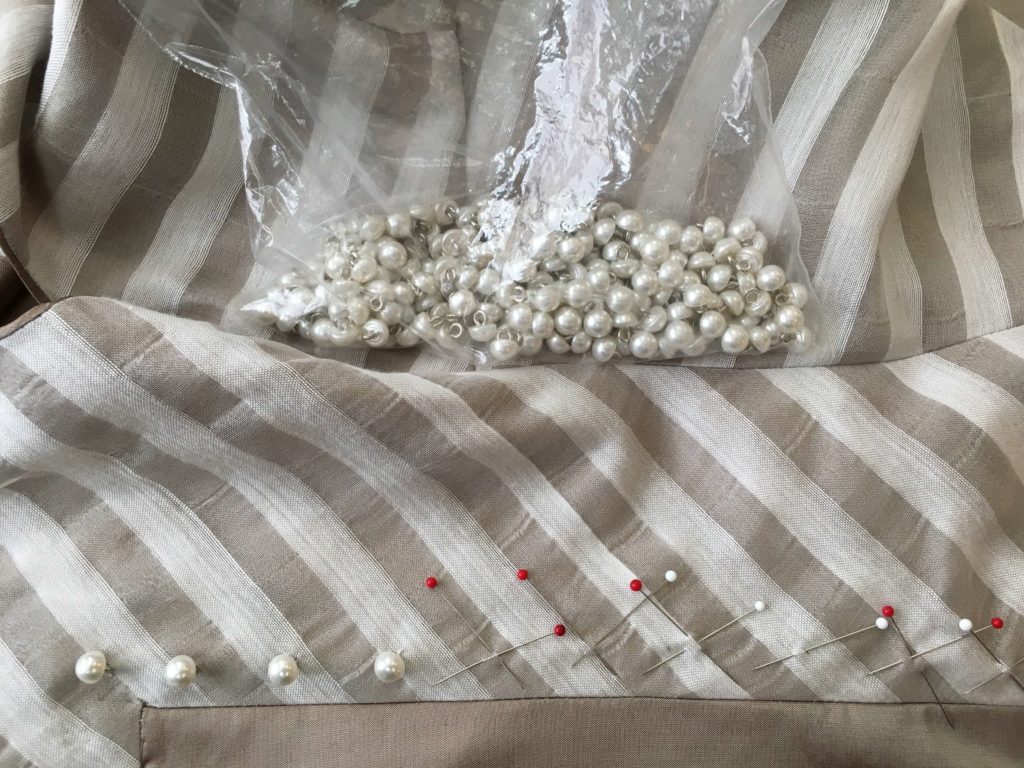
I put the dress on the dress form and marked the placement of each button loop on the overlap of the dress with a corresponding X of pins on the underlap of the dress. This is where each button would go!

I proceeded to replace the pins with half pearl metal shank bridal buttons…

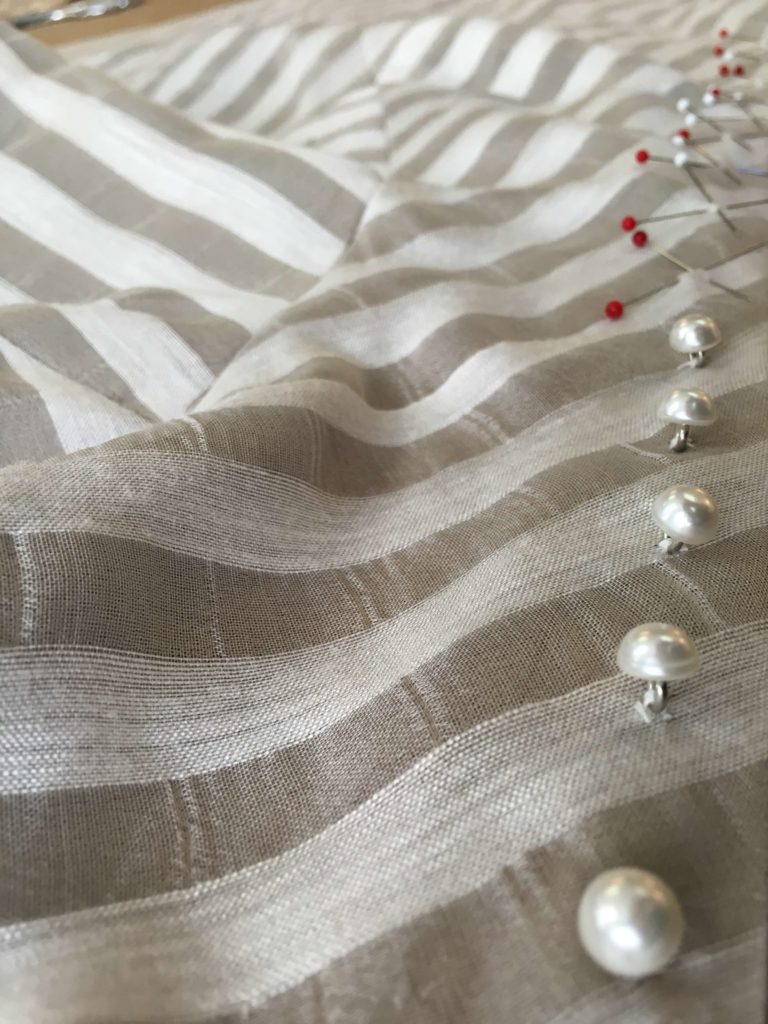
…until the dress could finally be buttoned up!
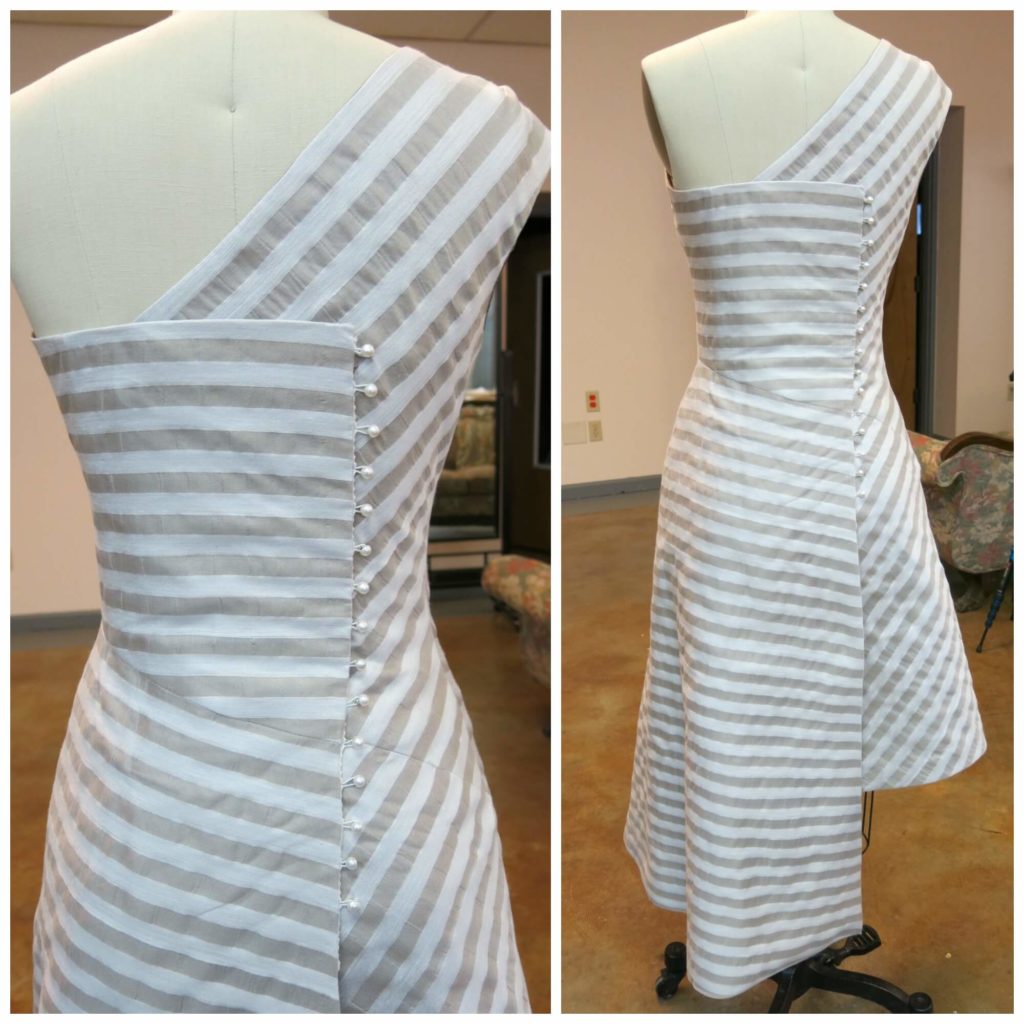
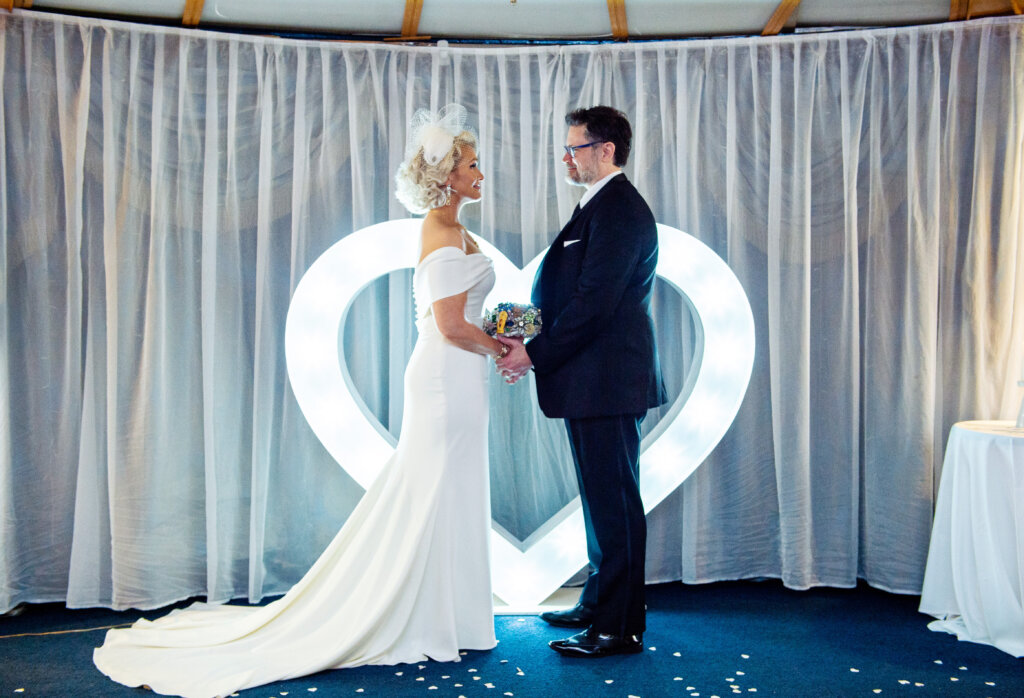
Whoo hoo! Sally’s dress was SO CLOSE to the finish line! It is thrilling when the vision in the sketch can finally be seen in real life!!!
But before anyone starts popping open champagne, there were still a few finishing touches before Sally’s dress was ready for the photoshoot, final fitting, and wedding day…
NEXT POST: Finishing touches! YAY!


2 Responses
Where did you get your main fabric? Was it this? http://www.moodfabrics.com/taupe-candy-striped-light-weight-linen-310985.html
I did buy the striped silk organza layer at Mood, but I took all they had in stock! I talk about it a little in this post: https://brooksann.com/adventures-patternmaking-stripes/