

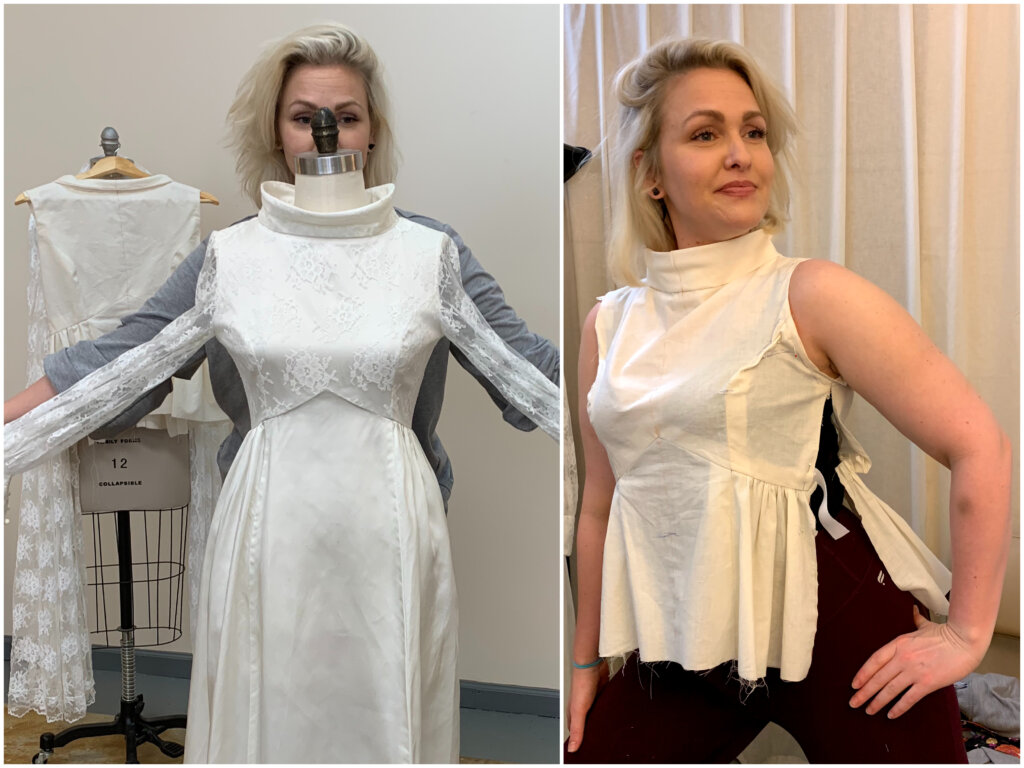
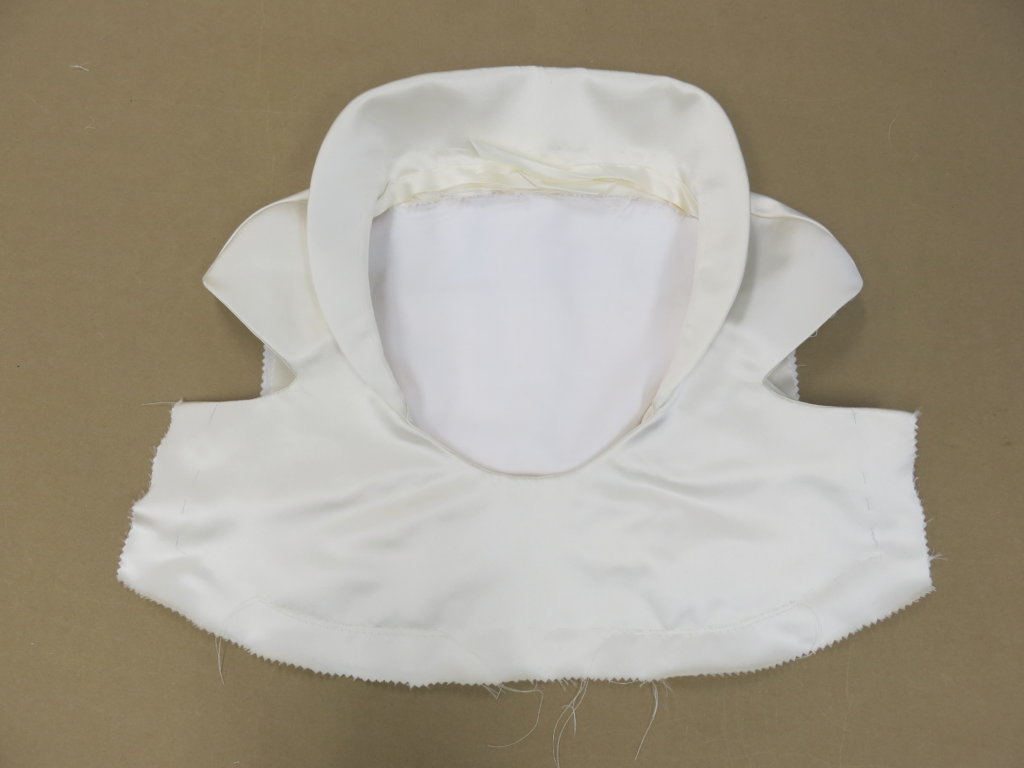
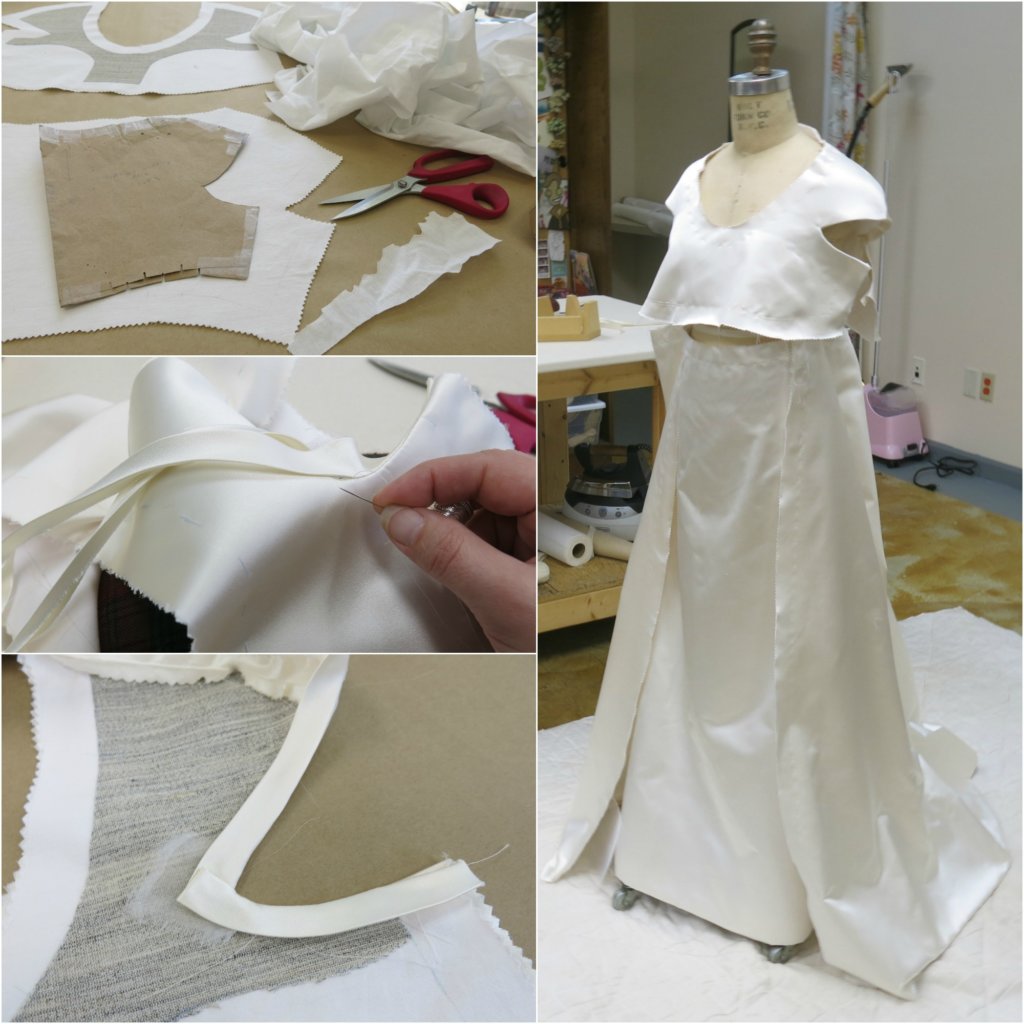
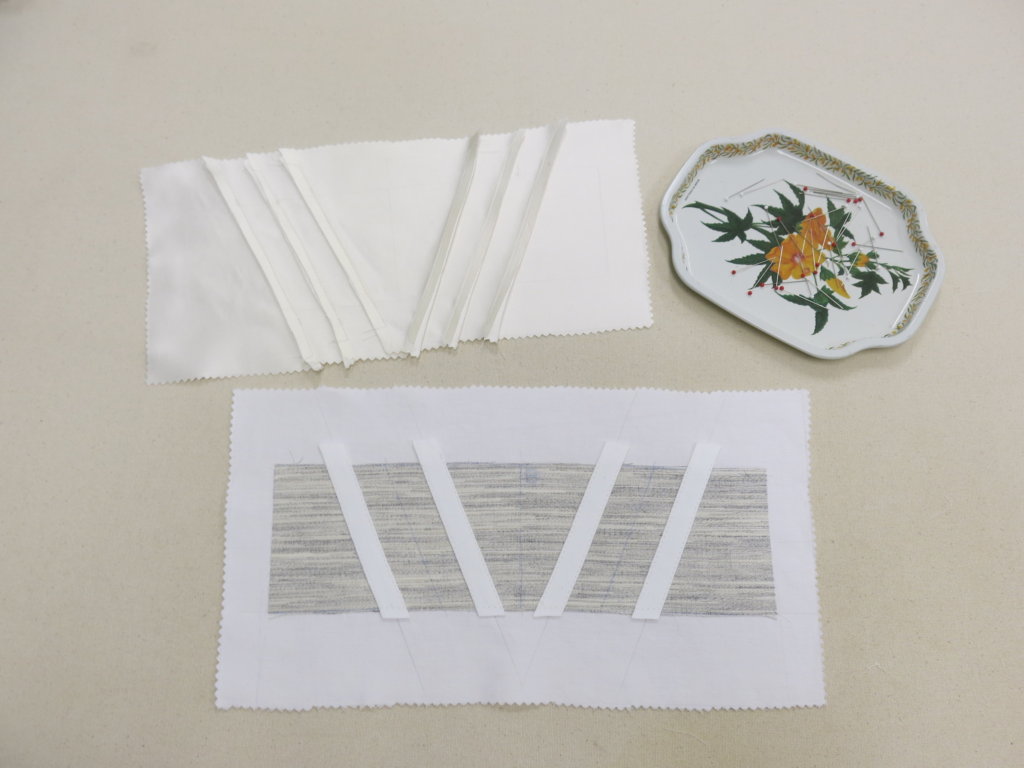
 Once Greta’s skirt was together, it was time to attach it to the bodice which I had already constructed. I didn’t catch many photos of the bodice-in-process, but all of the boning and bone casings are attached only to the organdy underlining so that its stitches and ridges are never noticed from the outside of the dress.
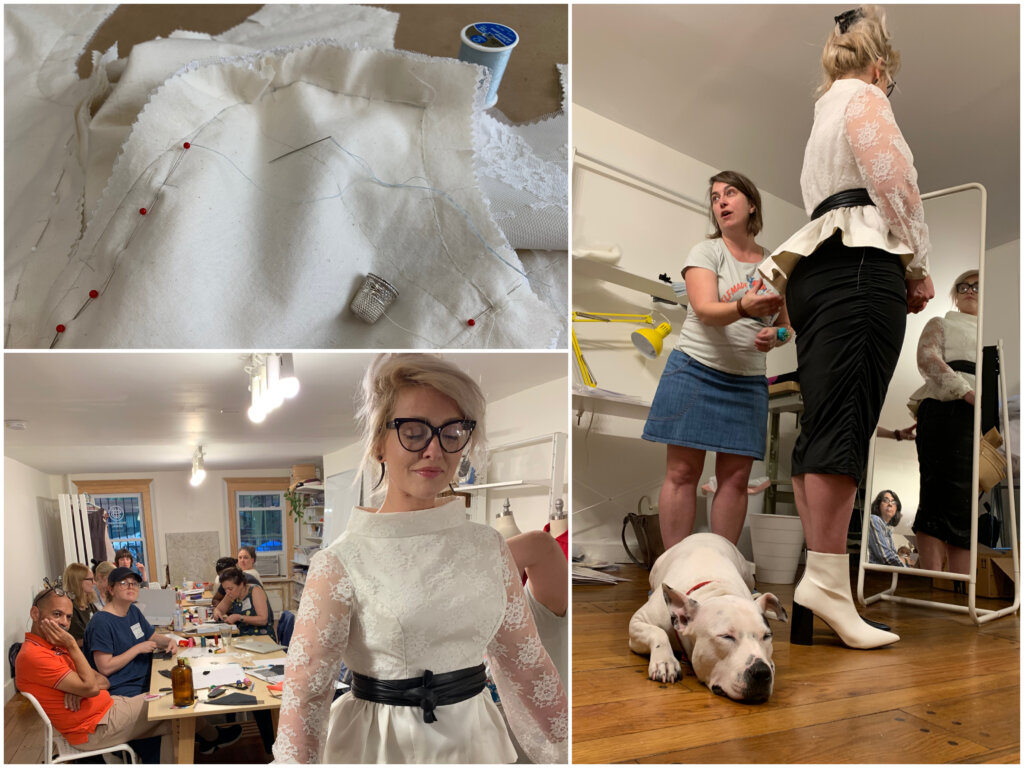
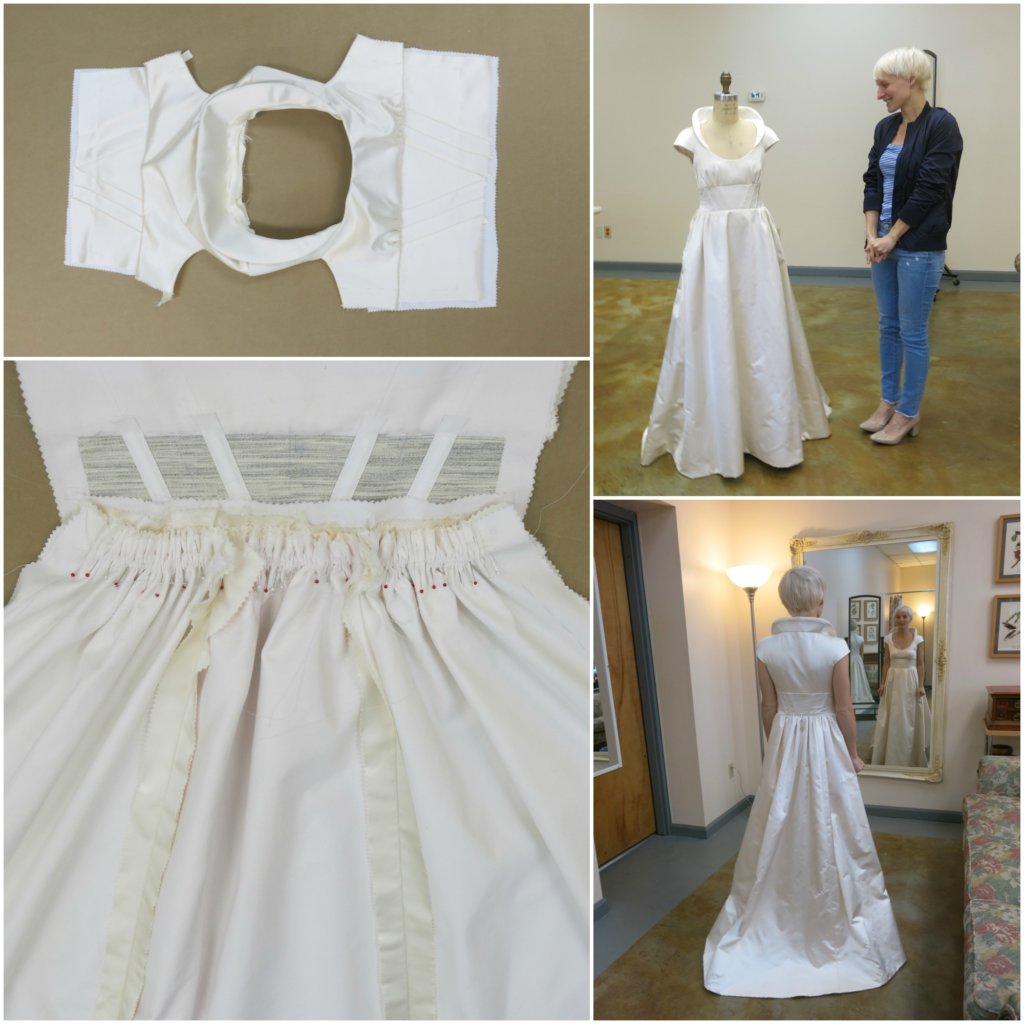
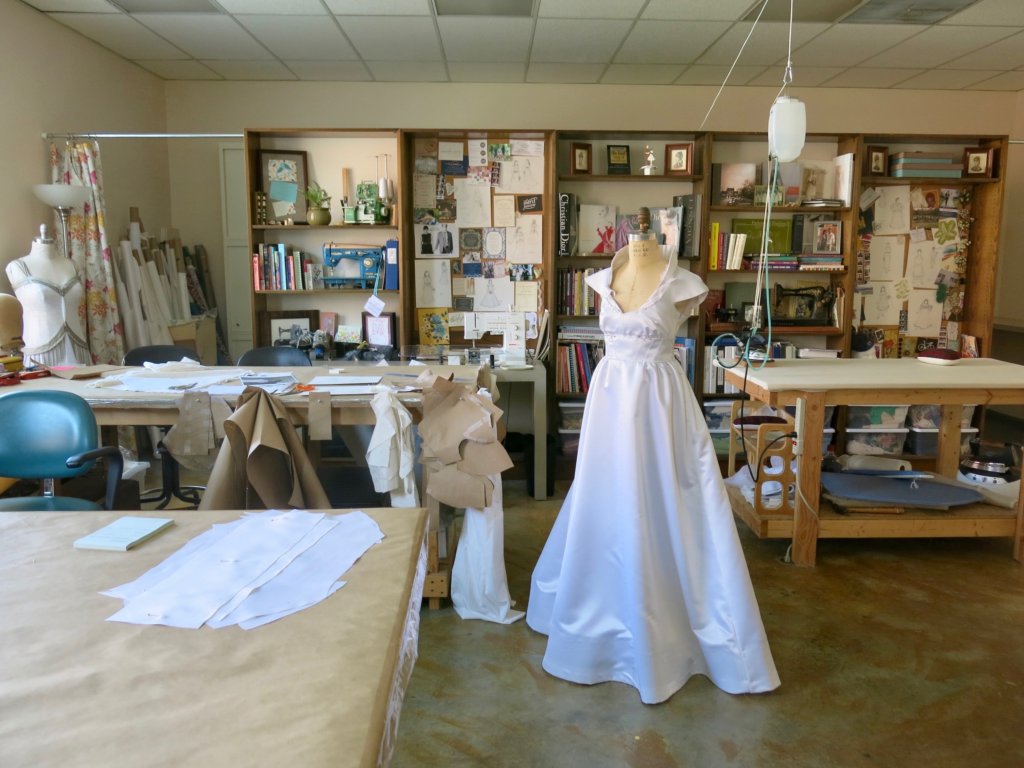
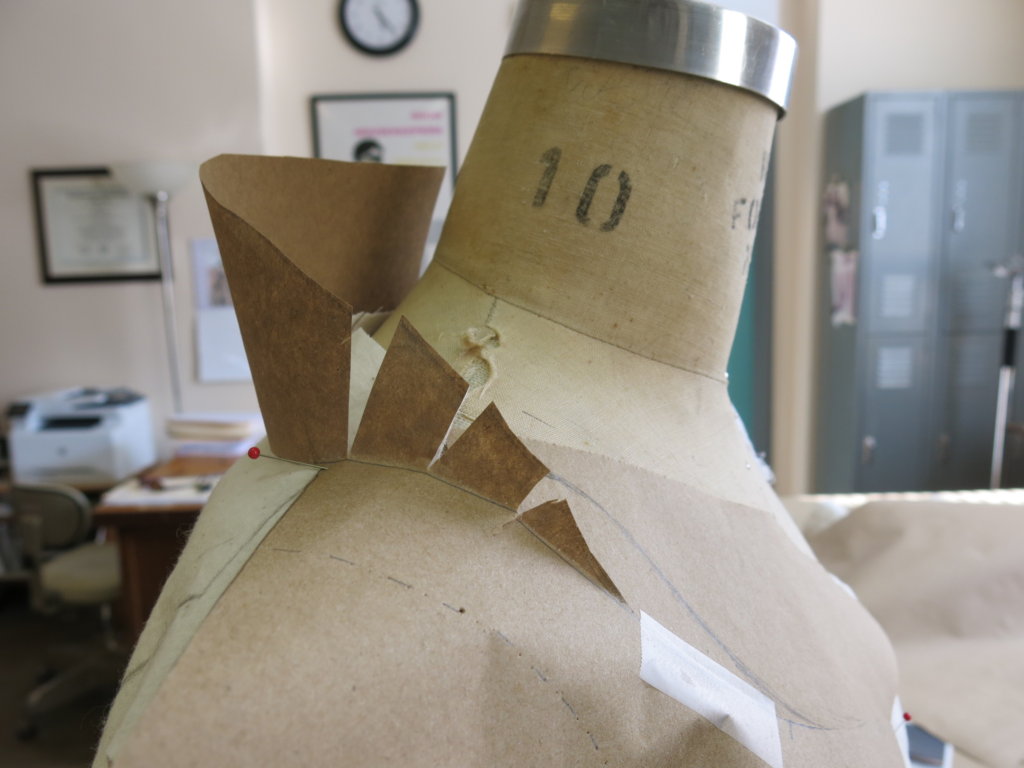
For our fitting, the sleeves are still just basted and the neckline is unclipped. Other than that, almost everything is sewn permanently. I leave some seam allowance inside and the pleats can be adjusted, but by this point we are pretty sure that the basic fit is already perfect.
The next order of business was the buttons!
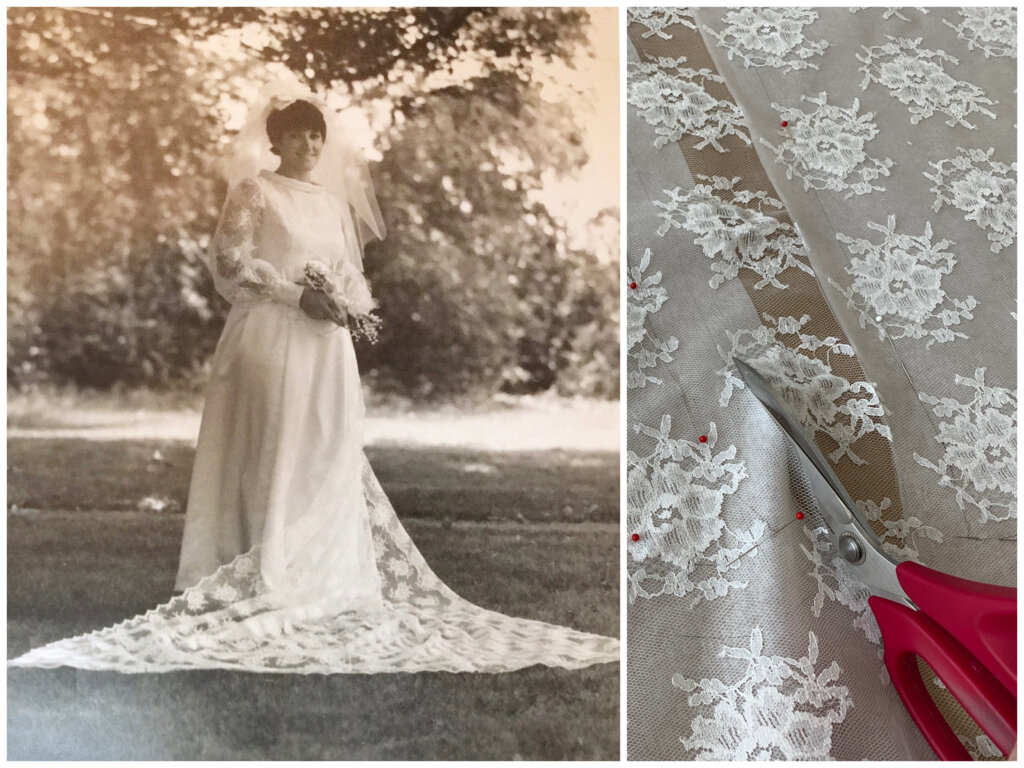
As I’ve said before, I believe closures should be featured or hidden. Greta and I chose to feature the closures for her custom wedding dress by a row of 40 pearl buttons down the back.
I also believe that closures should be real! You will never see a row of non-functioning buttons sewn onto a zipper in any of my dresses!
The buttons down the back of a wedding dress are not only beautiful, but they have a tradition associated with them. The bride cannot button herself up. Traditionally the task is performed by someone special to the bride. While buttoning the buttons, the loved one has enough time before the wedding to have the bride as her captive audience. Forty buttons worth of time to share, reflect, advise, or support. The bride can’t do much other than just breathe and relax and share a moment with a loved one.

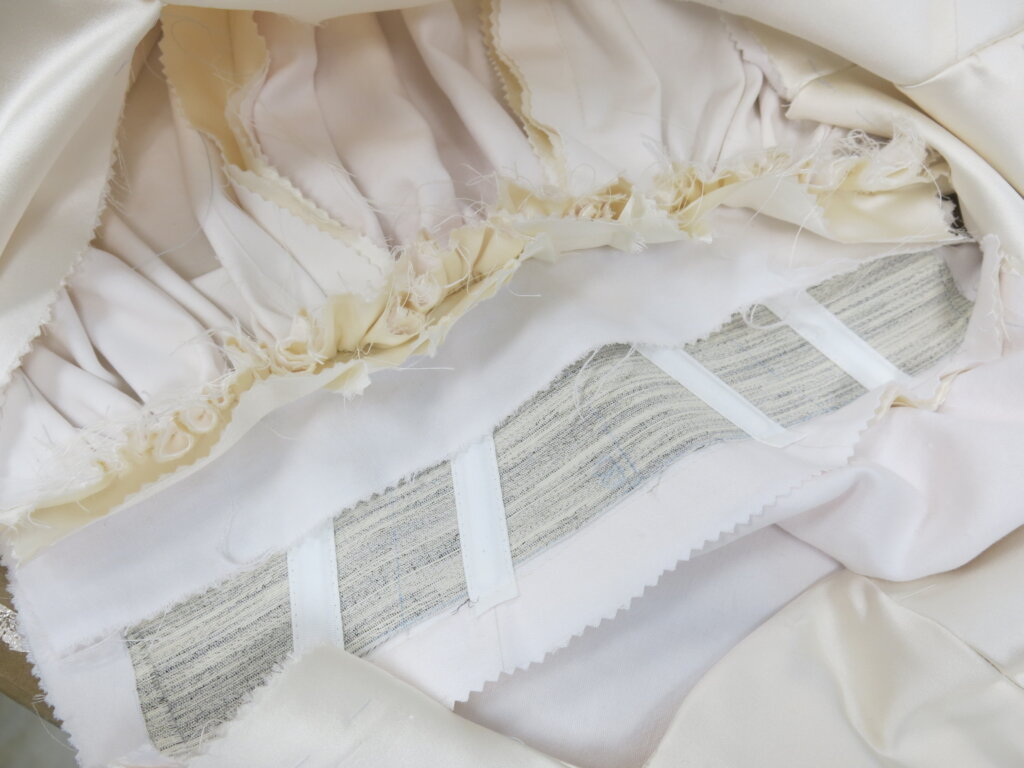
At the center back opening, I added a placket to one side and button loop tape to the other. The placket is a little extension that makes sure that no skin is showing on the back of the dress. The button loop tape I like to use has elastic loops, providing a little extra give and comfort for the bride, as well as a bit of extra ease for the person buttoning the buttons.
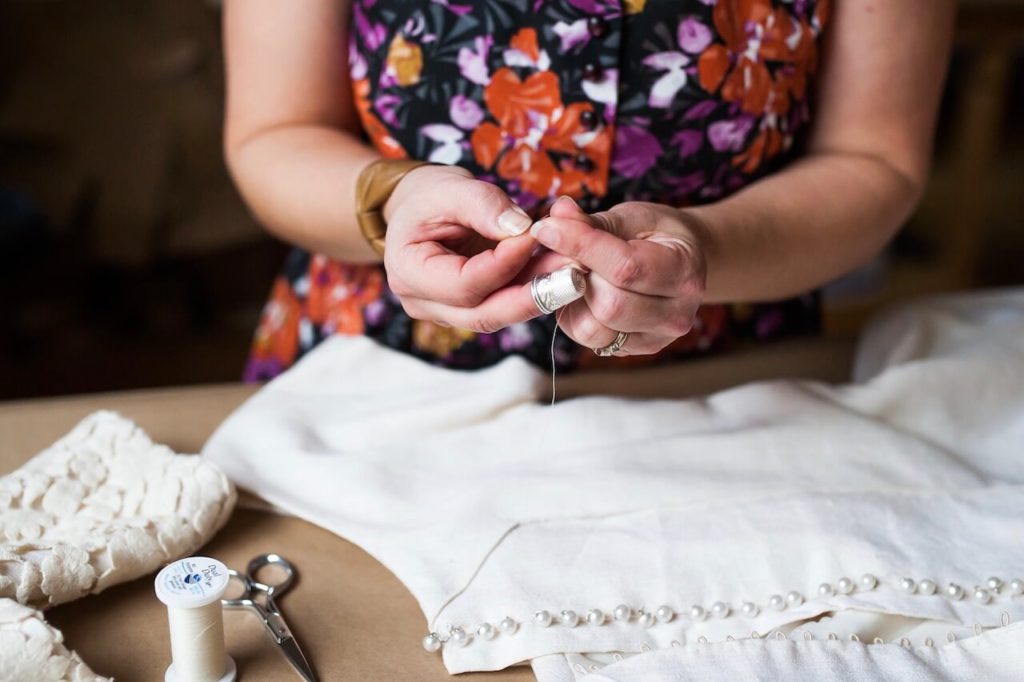
Above, you can see where I secured the button loop tape to the dress with handpicked stitches. I used a ruler to measure exactly where each button will go and marked it with a pin.

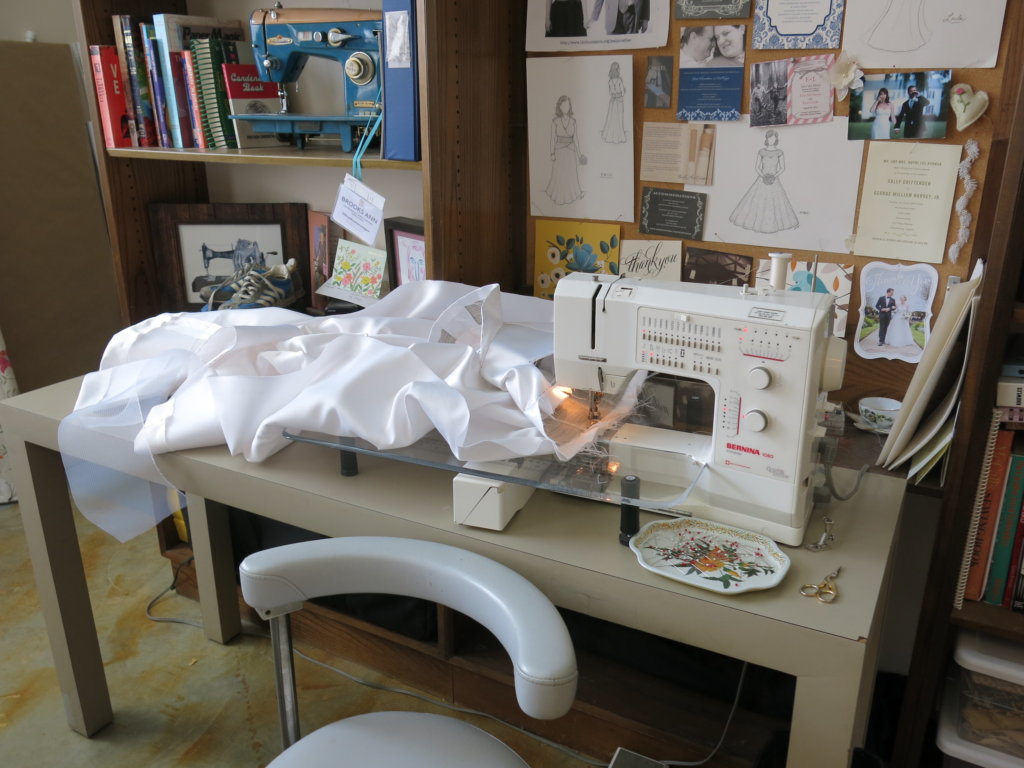
 Then I started sewing on each little button. One by one…
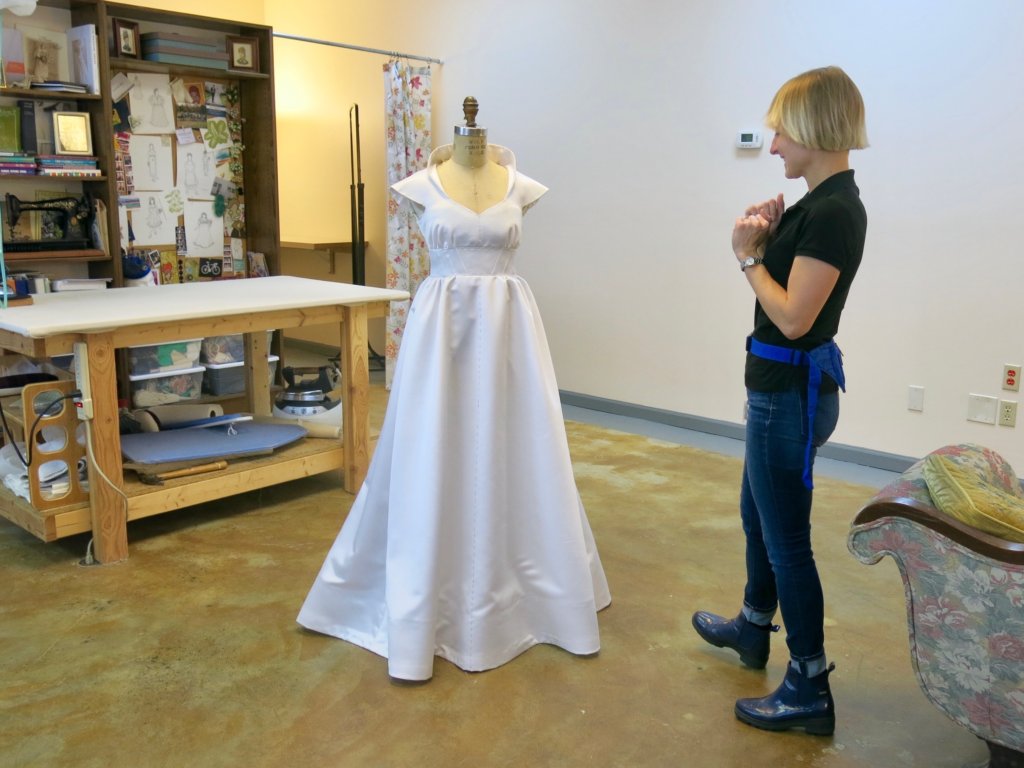
 With the closure complete, we finally have a DRESS that can be fit! I just needed to baste on the collar and some trim!
Next post: FINAL FITTING! The dress! On the bride! Nearly finished!!!!
Like this post? Join my mailing list!
Want to take an online class with me? Check out Skirt Skills!


One Response
Amazing! And beautiful:)